

craftsman pressure washer owners manual
Craftsman Pressure Washer Owners Manual: A Comprehensive Guide
Welcome! This manual details Craftsman pressure washer operation, maintenance, and troubleshooting – covering models like XR2600 and 0048. It includes pump kit instructions and quick change gear box details.
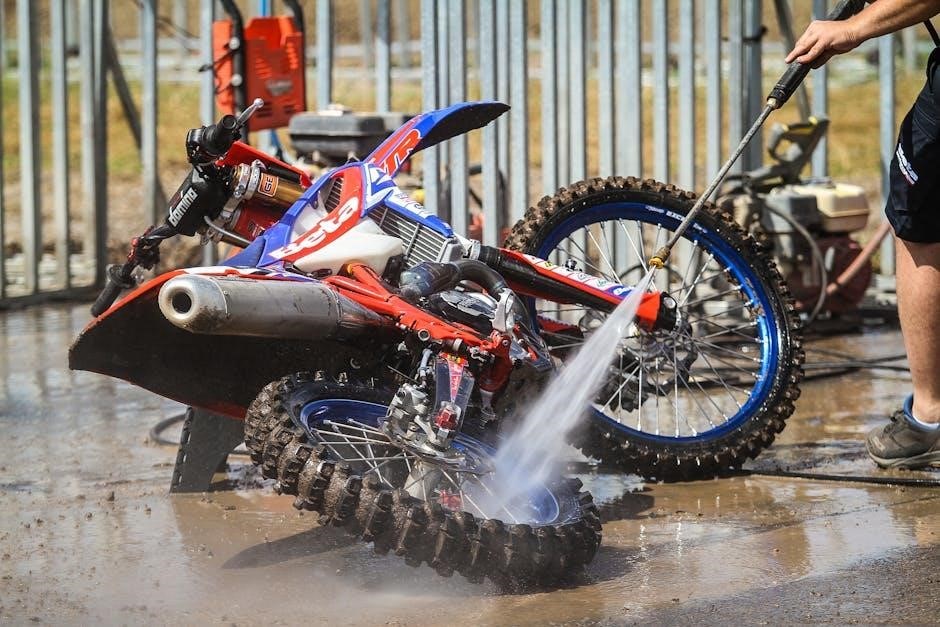
Craftsman pressure washers are designed to provide reliable cleaning power for a variety of outdoor tasks, from washing vehicles and siding to preparing surfaces for staining or painting. This manual serves as a comprehensive resource for owners, ensuring safe and effective operation of their equipment. Understanding your specific model is crucial, as features and capabilities can vary.

Craftsman offers a range of pressure washers, including models equipped with quick-change gear boxes (like the 0048) and those requiring pump kit replacements (such as the XR2600). Accessing detailed instructions and parts manuals, as found on resources like manualzilla, is highly recommended. These resources often contain exploded diagrams and step-by-step guides for assembly and maintenance.
This guide will walk you through everything from initial setup – connecting the water supply and powering up the unit – to advanced cleaning techniques. We’ll also cover essential safety precautions, a detailed maintenance schedule, and troubleshooting tips to address common issues. Furthermore, we will explore calculator functions useful for determining pressure and flow rates, aiding in optimal cleaning performance. Proper care and adherence to these guidelines will maximize the lifespan and efficiency of your Craftsman pressure washer.
Understanding Your Pressure Washer Model
Identifying your specific Craftsman pressure washer model is the first step towards proper operation and maintenance. Models like the XR2600 and 0048 possess unique characteristics requiring tailored approaches. Refer to the model number located on the unit’s housing – this is vital when sourcing parts or consulting online resources like manualzilla for dedicated manuals.
The XR2600, for instance, may necessitate pump kit upgrades, while the 0048 features a quick-change gear box system. Understanding these differences impacts maintenance procedures. Quick-change gear boxes simplify repairs, offering easier access to internal components, as detailed in accompanying parts manuals. Conversely, pump kit replacement requires specific instructions to ensure proper sealing and functionality.
Familiarize yourself with the unit’s specifications, including gallons per minute (GPM) and pounds per square inch (PSI). These values dictate cleaning power and nozzle selection. Online calculators can assist in determining appropriate pressure settings for various cleaning tasks. Knowing your model’s capabilities ensures efficient cleaning and prevents potential damage to surfaces. Always consult the official Craftsman documentation for accurate model-specific information.
Safety Precautions & Warnings
Prioritize safety! Craftsman pressure washers generate high-pressure water, posing potential hazards. Always wear safety glasses to protect your eyes from debris. Avoid directing the spray at people, animals, or electrical connections. Never attempt to modify the pressure washer in any way, as this could compromise safety features.
Ensure a stable working surface and maintain a firm grip on the spray wand. Be mindful of the recoil force. Inspect hoses for damage before each use – replace any cracked or worn hoses immediately. Never operate the pressure washer without all safety components properly installed.
Disconnect the power supply and water source before performing any maintenance or repairs. Avoid using flammable liquids near the pressure washer. Keep children and bystanders at a safe distance during operation. Understand the risks associated with high-pressure water and exercise caution at all times. Refer to the full owner’s manual for a comprehensive list of safety guidelines and warnings.
Component Identification
Your Craftsman pressure washer consists of several key components. These include the high-pressure pump, responsible for generating water pressure; the motor, providing the power; and the spray gun, controlling water flow. Familiarize yourself with the spray wand, which accepts various nozzles for different cleaning applications.
The high-pressure hose connects the pump to the spray gun, delivering pressurized water. Locate the water inlet for connecting the water supply and the detergent tank (if equipped) for applying cleaning solutions. Identify the pressure regulator, allowing adjustment of water pressure.
Other important parts include the on/off switch, the quick-connect fittings for easy nozzle changes, and the gear box (particularly relevant for model 0048 with its quick-change functionality). Understanding the function of each component is crucial for proper operation and maintenance. Refer to the detailed diagrams in this manual for visual identification of each part.
Assembly Instructions
Before initial use, carefully unpack your Craftsman pressure washer and verify all components are present. Begin by attaching the spray wand to the spray gun, ensuring a secure connection – typically a quick-connect mechanism. Next, connect the high-pressure hose to both the spray gun and the high-pressure pump, again utilizing quick-connect fittings.
If your model includes wheels, attach them to the base frame following the provided instructions, securing them with the appropriate hardware. For models with a detergent tank, carefully insert it into its designated compartment. Ensure all connections are tight and properly aligned before proceeding.
Double-check all fittings for leaks. It’s vital to avoid forcing connections; proper alignment is key. Refer to the included diagrams for visual guidance. Incorrect assembly can lead to malfunctions or safety hazards. Once assembled, inspect the unit for any damage incurred during shipping.
Connecting the Water Supply
Proper water supply connection is crucial for optimal pressure washer performance. First, ensure your water source provides a minimum flow rate of 4 gallons per minute (GPM) with a maximum inlet pressure of 0.1 MPa. Connect the water inlet hose (garden hose) to a standard outdoor faucet. A water filter, often included, should be installed on the inlet hose to prevent debris from entering the pump.
Securely tighten the connection to the faucet, avoiding over-tightening which could damage the threads. Slowly turn on the water supply, checking for leaks at both ends of the hose. Allow the water to run for a few moments to purge any air from the line before starting the pressure washer.
Never draw water from stagnant sources or contaminated water supplies. Using unfiltered water or exceeding the maximum inlet pressure can cause pump damage and void the warranty. Always disconnect the water supply when the pressure washer is not in use.
Powering Up Your Pressure Washer
Before powering up, double-check all connections – water supply, nozzles, and spray wand – ensuring they are secure. Confirm the pressure washer is on a stable, level surface. Locate the power switch, typically labeled “ON/OFF,” and ensure it’s in the “OFF” position.
Plug the pressure washer’s power cord into a grounded 120V outlet. Avoid using extension cords if possible; if necessary, use a heavy-duty, outdoor-rated extension cord with a minimum wire gauge of 12 AWG. Never use damaged cords.
Turn the power switch to the “ON” position. The pressure washer may take a few seconds to prime. Listen for the pump to engage; if it doesn’t, refer to the troubleshooting section. Never operate the pressure washer without water flowing through the pump, as this can cause severe damage. Always supervise the unit while in operation.
Nozzle Selection & Usage
Craftsman pressure washers utilize a quick-connect nozzle system, allowing for easy interchangeability. Different nozzles deliver varying spray patterns and intensities, suited for diverse cleaning tasks. A 0-degree nozzle produces a concentrated, pencil-thin stream for stubborn, localized dirt – use with extreme caution!
A 15-degree nozzle offers a narrower spray for more focused cleaning, ideal for driveways and patios. The 25-degree nozzle provides a wider spray pattern for general cleaning tasks like siding and fences. A 40-degree nozzle delivers a gentle spray, perfect for delicate surfaces like cars or painted wood.
The soap nozzle (often black or white) is designed for applying detergents. Always use detergents specifically formulated for pressure washers. To switch nozzles, depress the quick-connect collar and rotate to lock the desired nozzle into place. Always test the nozzle on an inconspicuous area first to assess its impact.
Adjusting Pressure Settings
Your Craftsman pressure washer features adjustable pressure settings, typically controlled via an unloader valve or a pressure regulator. These controls allow you to tailor the water pressure to the specific cleaning task, preventing damage to surfaces. Lower pressure is ideal for delicate materials like car paint or soft wood, while higher pressure is suitable for concrete and heavily soiled areas.
The unloader valve automatically regulates pressure by diverting water flow when the trigger is released. Adjusting this valve directly impacts the maximum pressure output. Some models have a pressure regulator knob, offering finer control over the pressure level.
Start with the lowest pressure setting and gradually increase it until you achieve the desired cleaning power. Always test on an inconspicuous area first. Be mindful of the nozzle selection, as it also influences the effective cleaning pressure. Incorrect pressure settings can lead to surface damage or inefficient cleaning.
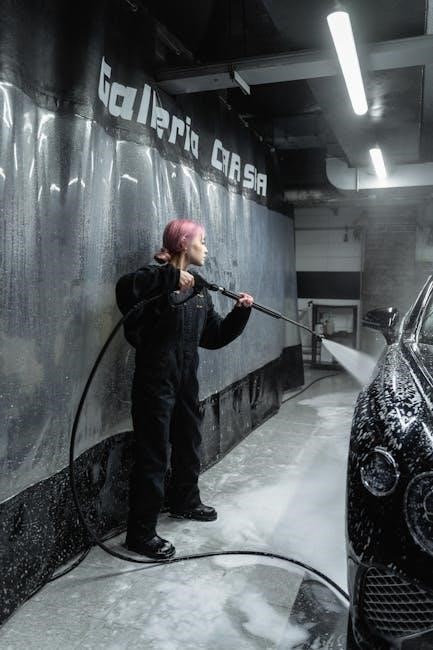
Operating Procedures: Basic Cleaning
Before starting, ensure the pressure washer is properly assembled, the water supply is connected, and the power is on. Select the appropriate nozzle – a wider angle nozzle (e.g., 25 or 40 degrees) is best for general cleaning. Begin by rinsing the surface with water to remove loose debris.
Hold the wand at a 45-degree angle to the surface, approximately 8-12 inches away. Use a sweeping motion, overlapping each pass slightly to ensure even cleaning. Avoid prolonged exposure to a single spot, as this can cause damage.
For stubborn dirt, you may need to increase the pressure slightly or use a more concentrated cleaning solution (follow the solution manufacturer’s instructions). Always work from top to bottom to prevent streaking. After cleaning, rinse the surface thoroughly with clean water. Remember to release the trigger and disconnect the power and water supply when finished.
Operating Procedures: Advanced Cleaning Techniques

For heavily soiled surfaces, consider a pre-soak with a dedicated cleaning solution, allowing dwell time as per the product instructions. Utilize the soap applicator (if equipped) for even distribution. Employ a narrower nozzle (e.g., 15 degrees) for concentrated cleaning of stubborn stains, but exercise caution to avoid damage.
When cleaning vertical surfaces like siding, work from the bottom up to prevent streaking and ensure even coverage. For delicate surfaces, test a small, inconspicuous area first. Utilize a surface cleaner attachment for large, flat areas like driveways and patios – this provides consistent cleaning and prevents striping.
For removing paint or loose coatings, a zero-degree nozzle can be used, but extreme caution is necessary. Maintain a greater distance and use short bursts to avoid damaging the underlying material. Always wear appropriate safety gear, including eye protection and gloves, during advanced cleaning operations.
Maintenance Schedule
Regular maintenance extends your Craftsman pressure washer’s life. After each use, flush the pump with clean water to remove detergent residue. Inspect hoses and connections for leaks or damage; replace as needed. Annually, check the oil level in the pump (if applicable) and replenish if low, using the manufacturer’s recommended oil type.
Every 25-50 hours of operation, inspect nozzles for wear and clogging, cleaning or replacing them as necessary. Examine the high-pressure hose for cracks or bulges, and replace it if compromised. Check the trigger gun for proper function and repair or replace if faulty.
Before long-term storage (winterizing – see dedicated section), thoroughly clean the unit and run fuel stabilizer through the engine. Store in a dry, protected location. Periodic inspection of the gearbox (especially model 0048 with quick change features) is crucial for optimal performance.
Winterizing Your Pressure Washer
Proper winterization prevents freeze damage. First, disconnect the water supply and drain all remaining water from the pump, hoses, and wand. Run the engine briefly until no water exits. Add a pump protector/antifreeze specifically designed for pressure washers – follow product instructions carefully.
For gas-powered models, drain the fuel tank completely or add a fuel stabilizer to prevent fuel degradation during storage. Change the engine oil before storing. Disconnect the spark plug wire for added safety. Clean the exterior of the unit to remove dirt and debris.
Store the pressure washer in a dry, protected location, ideally indoors, where it won’t be exposed to freezing temperatures. Cover the unit to protect it from dust and pests. Remember to consult your specific model’s manual for any additional winterizing steps.
Troubleshooting Common Issues
Low Pressure: Check for kinks in the hose, a clogged nozzle, or insufficient water supply. Ensure the water inlet filter is clean. A worn pump may require a pump kit replacement (like the XR2600 upgrade).
Engine Won’t Start: Verify fuel levels, check the spark plug, and ensure the engine is not flooded. Examine the recoil starter for damage. For electric models, check the power cord and circuit breaker.
Unit Pulsates: Air in the pump line is a common cause. Turn off the unit, disconnect the high-pressure hose, and trigger the gun until a steady stream of water appears.
Leaks: Inspect all hose connections and fittings. Tighten as needed. Replace damaged hoses or O-rings. If issues persist, consult a qualified technician. Always disconnect the power source before troubleshooting.
Replacing the Pump Kit (XR2600 Specific)
Preparation: Disconnect the power supply and water source. Drain all water from the pump and hoses. Gather necessary tools: wrenches, screwdrivers, and potentially a pump puller. A new XR2600 pump kit should include all seals, O-rings, and potentially pistons.
Disassembly: Remove the pump cap and carefully disassemble the pump, noting the position of each component. Inspect old parts for wear and damage. Clean the pump housing thoroughly before installing new parts.
Installation: Lubricate new pistons and seals with water. Install the new components in the correct order, referring to the kit’s instructions or diagrams. Ensure all parts are seated properly.
Reassembly & Testing: Reassemble the pump, tighten all connections securely, and reconnect the water supply. Start the pressure washer and check for leaks. Verify proper pressure and operation.
Gear Box Maintenance & Parts (Model 0048 Specific)
Understanding the 0048 Gear Box: This model utilizes a quick change gear box, allowing for adjustable pressure output. Regular maintenance is crucial for optimal performance and longevity. Inspect the gear box for leaks or unusual noises during operation.
Lubrication: Periodically check the gear box oil level. Use only the manufacturer-recommended gear oil. Drain and replace the oil annually, or more frequently with heavy use. Proper lubrication minimizes wear and tear on internal components.
Parts Replacement: Common replacement parts include gears, seals, and the gear box housing. Refer to the parts manual for specific diagrams and part numbers. Ensure compatibility when ordering replacement parts.
Inspection & Repair: Inspect gears for wear or damage. Replace worn gears promptly to prevent further damage. If significant damage is present, consider professional repair or replacement of the entire gear box assembly.
Understanding Quick Change Gear Boxes
Functionality: Quick change gear boxes, commonly found in Craftsman model 0048 pressure washers, allow users to easily adjust the pump’s output pressure and flow rate. This is achieved by swapping different sized gears within the gearbox assembly.
Gear Ratios: Different gear ratios correspond to varying pressure levels. Lower ratios typically result in higher pressure, while higher ratios yield lower pressure but increased flow. Consult your owner’s manual for specific gear ratio charts.
Changing Gears: To change gears, disconnect the power supply and follow the disassembly instructions in the manual. Carefully remove the existing gears and install the desired set. Ensure proper alignment during reassembly.
Maintenance: Regularly inspect the gear box for leaks and proper lubrication. Use only manufacturer-approved gear oil. Replacing worn gears is essential for maintaining optimal performance and preventing damage to the pump.
Calculator Functions & Usage (Related to Pressure/Flow Rate)
Understanding the Relationship: Pressure (PSI) and flow rate (GPM – gallons per minute) are crucial for determining cleaning power. A basic online calculator can assist in converting between units and calculating cleaning units (CU), a measure of overall cleaning effectiveness.
Calculating Cleaning Units: Cleaning Units (CU) are calculated by multiplying PSI by GPM (PSI x GPM = CU). Higher CU values indicate stronger cleaning capability. Use a calculator to quickly determine CU based on your pressure washer’s settings.
Nozzle Size & Flow Rate: Different nozzle sizes affect flow rate. A smaller nozzle orifice increases pressure but reduces flow, while a larger orifice decreases pressure but increases flow. Online calculators can help estimate flow rate changes.
Practical Applications: Utilize a calculator to determine the appropriate pressure and flow rate for various cleaning tasks. For delicate surfaces, lower settings are recommended, while tougher jobs require higher settings. Remember safety first!